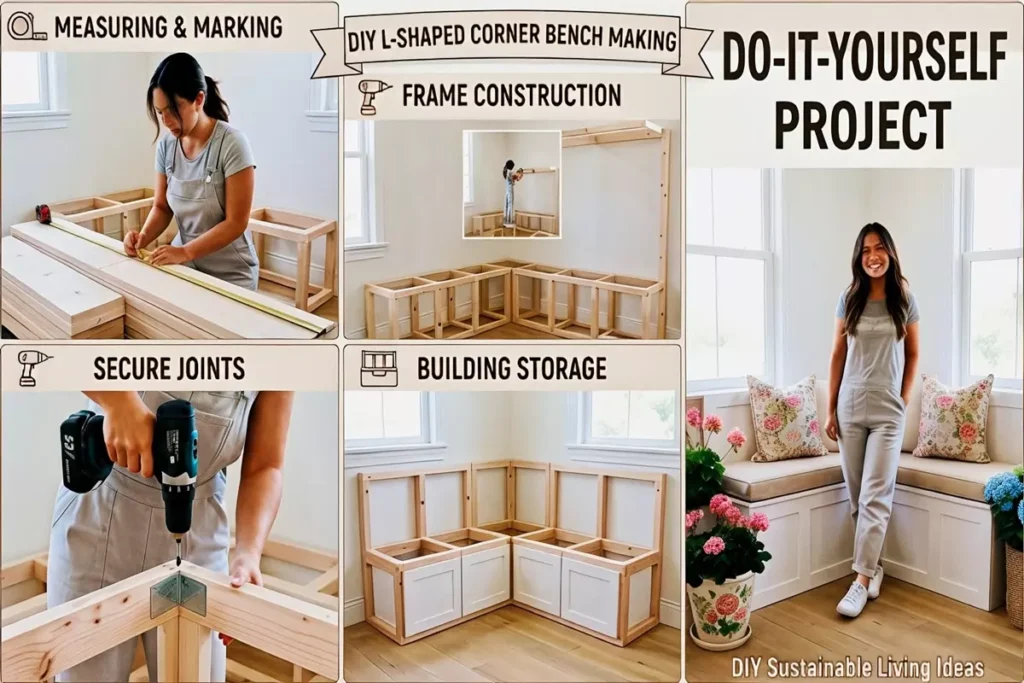
Have you ever looked at an empty corner in your home or a plain balcony wall and thought, “This space has so much potential, but I don’t want to spend a fortune at high-end furniture stores?” ‘DIY Magic: How I Transformed My Space with Wooden Crates & Simple Tools’
If you’ve been following my home journey, you know how much I love practical, budget-friendly, and sustainable living solutions. Today, I’m so excited to share one of my absolute favorite weekend projects: creating custom storage and decor units using simple wooden crates!
»» Follow DIY Sustainable Living Ideas on social media to be informed about current posts ««
Why Wooden Crates?
Living a minimalist yet warm lifestyle is all about functionality meeting aesthetics. Wooden crates are the ultimate DIY material because:
- Versatile: You can stack them horizontally, vertically, or in an asymmetrical layout.
- Eco-Friendly: Upcycling wooden structures gives your home a cozy, rustic charm.
- Budget-Friendly: You get maximum storage space without breaking the bank.
Step-by-Step: The Crate Bookshelf & Decor Unit
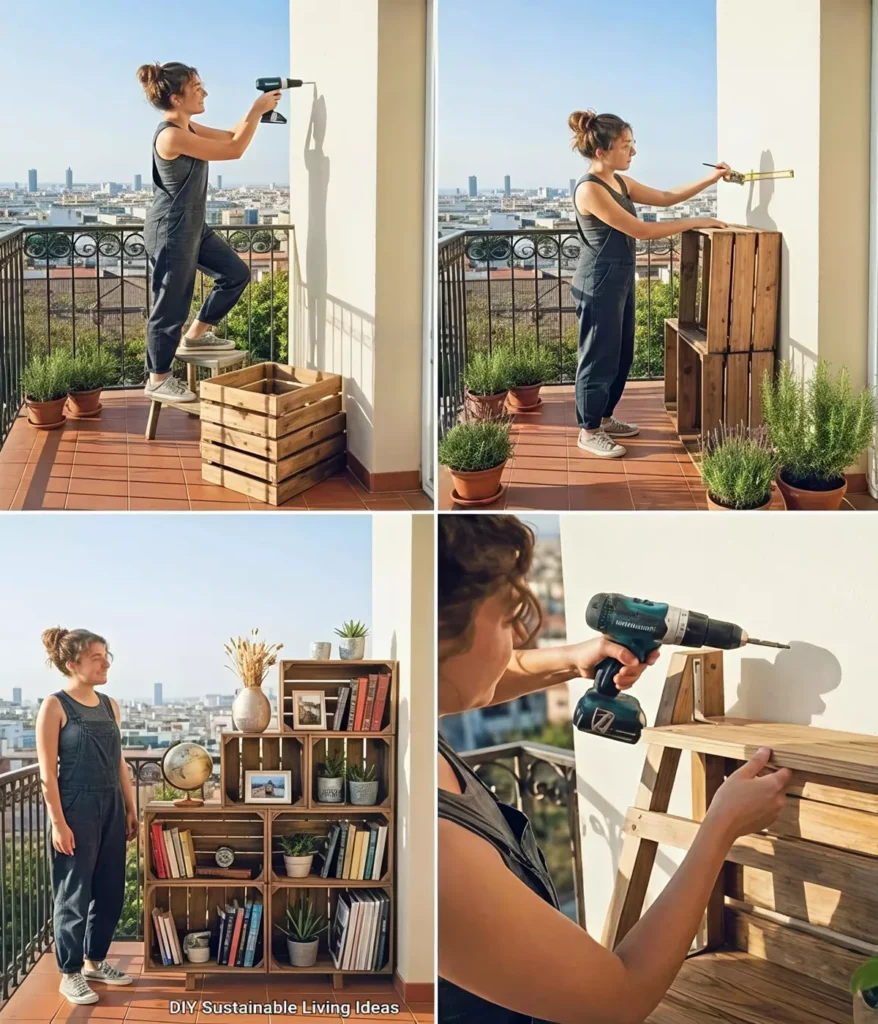
Whether you want to build a cozy reading nook in your living room, an indoor plant display, or a balcony plant stand, the process is surprisingly simple! Here is how I brought this project to life in 4 easy steps:
1. Measuring & Planning (Step 1)
Before picking up any power tools, measure your space! Place the wooden crates against the wall or corner to test different configurations. Mark your drill points on the wall with a pencil to ensure everything will line up perfectly.
2. Drilling & Securing to the Wall (Step 2)
Safety first! Using a cordless drill and sturdy wall anchors/brackets, secure the primary frame to the wall. This keeps your structure stable, especially if you plan to stack multiple tiers or place heavier items like books.
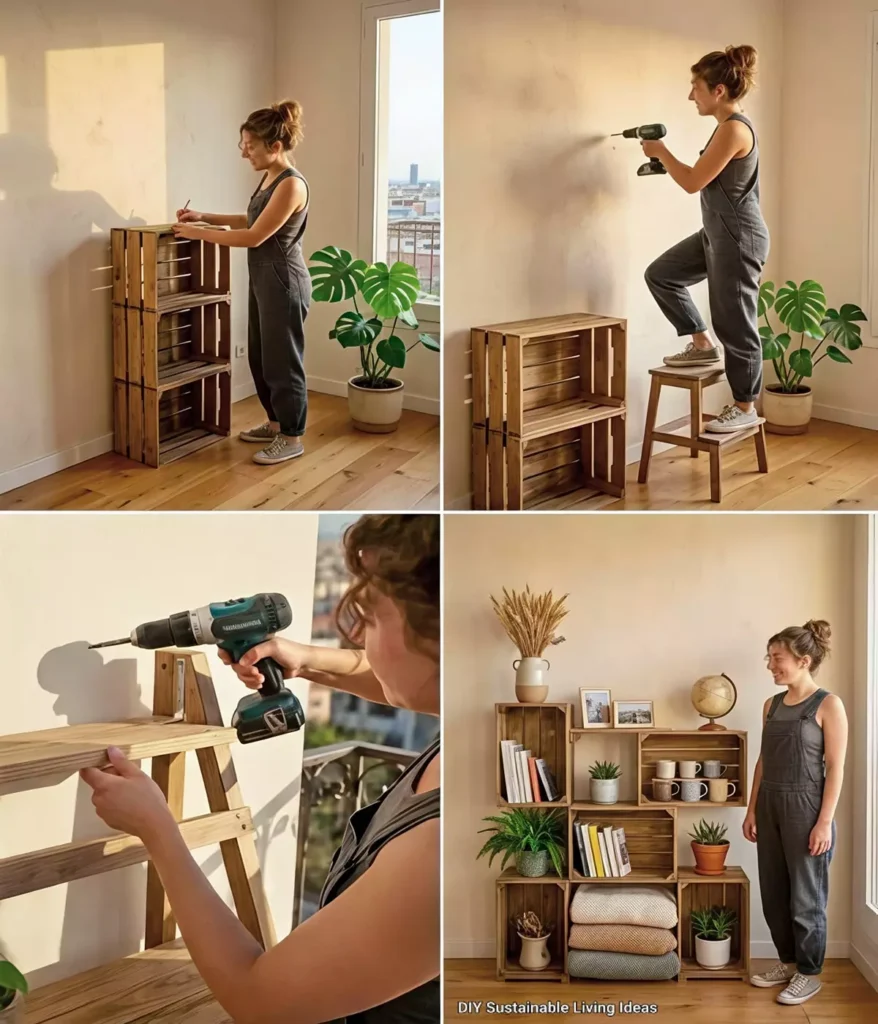
3. Adding Internal Shelving & Custom Touches (Step 3)
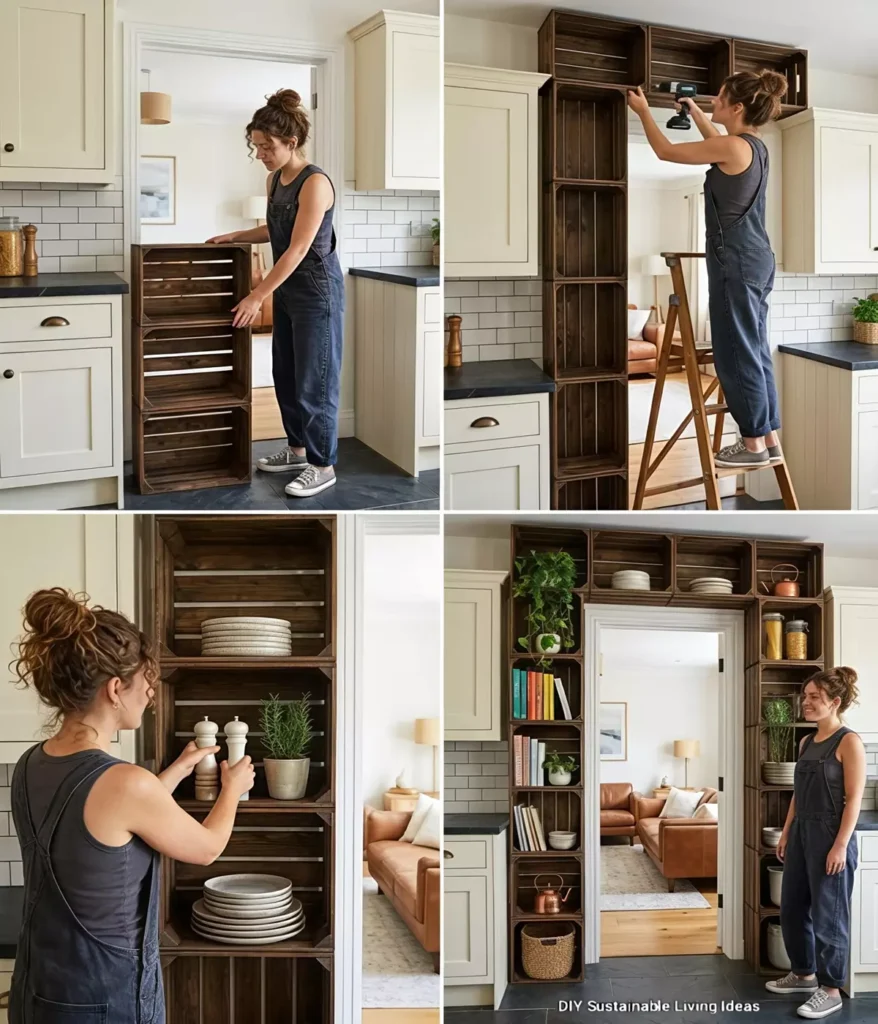
To make the most of each crate, install thin inner wood planks or brackets. This creates additional compartments for smaller decor pieces, salt/pepper shakers, or small potted herbs.
4. Styling & Decorating (Step 4)
Now for the fun part—bringing it to life!
- For a Cozy Indoor Nook: Fill the shelves with vintage books, globes, framed photos, and warm ceramic pottery.
- For a Balcony / Plant Stand: Add cascading indoor plants (like Pothos or English Ivy), fresh herbs, and terracotta pots to create a mini green oasis.
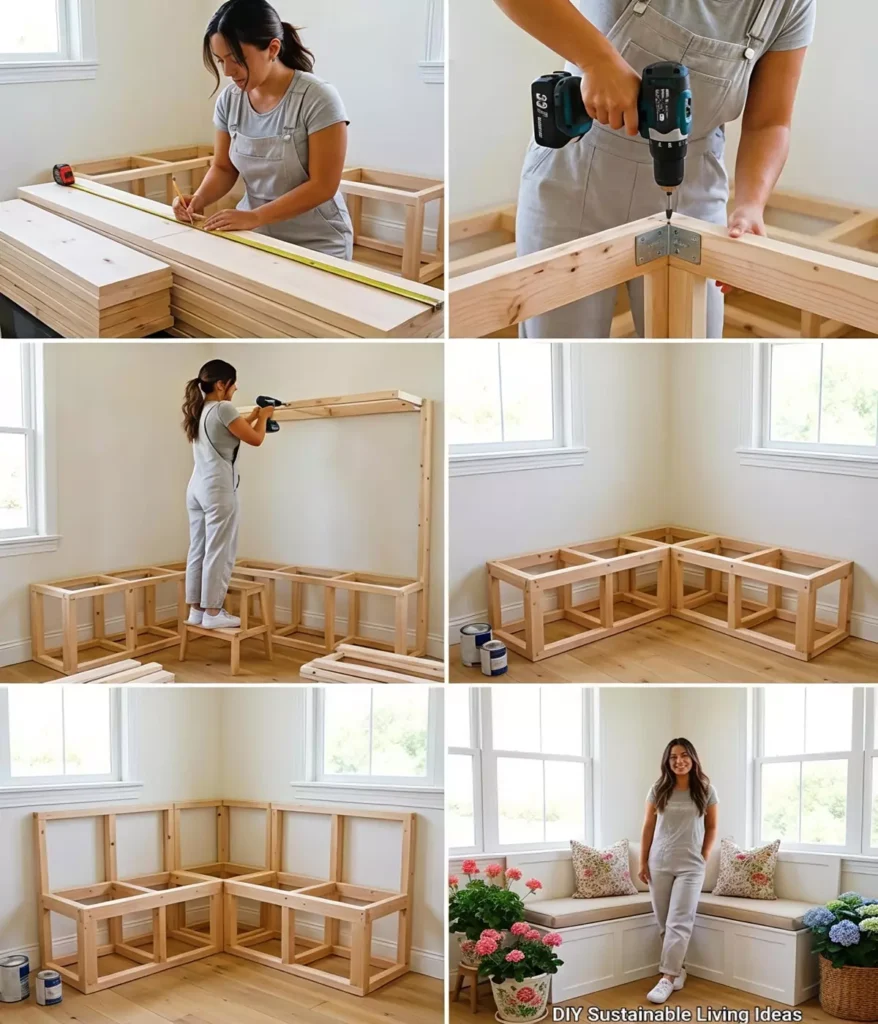
Pro Tips for DIY Success
Quick Tip: If you want a clean, modern look, you can paint the crates crisp white and complement them with floral cushions or pastel accents! If you prefer a rustic, farmhouse vibe, a dark wood stain works wonders.
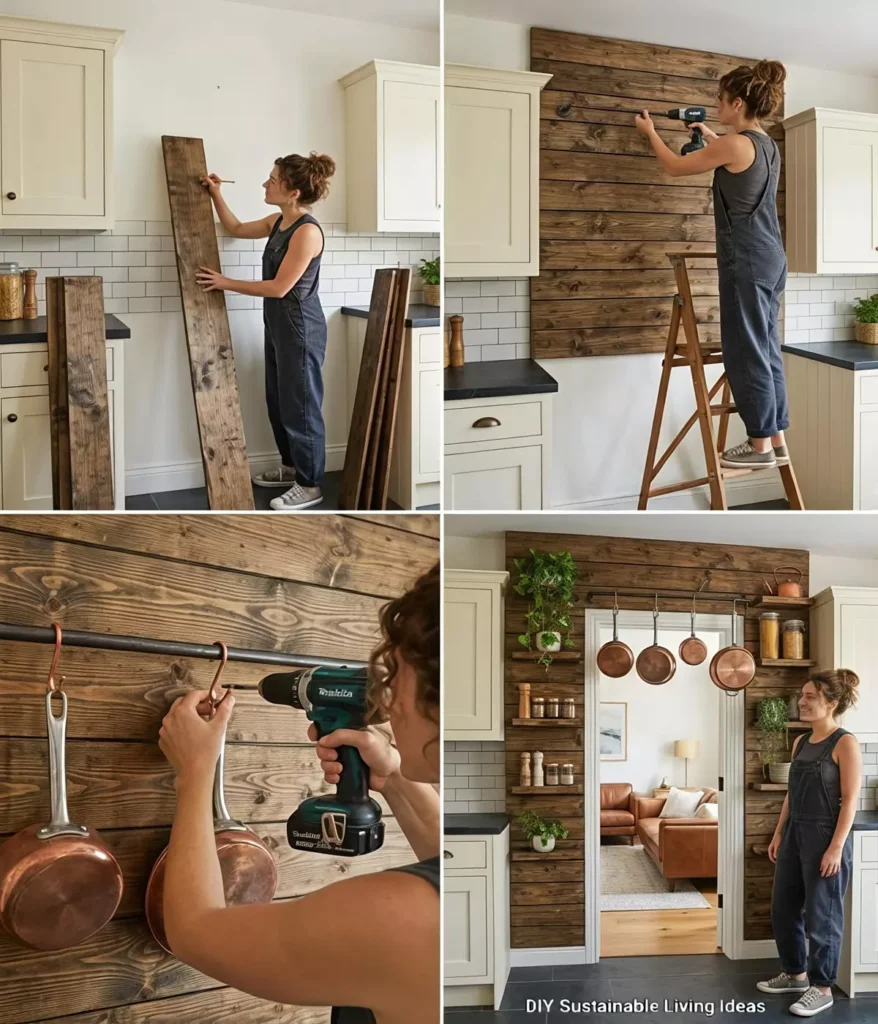
Final Thoughts: Open the Door to a Unique Lifestyle with DIIY Projects
Creating a home you love doesn’t require a massive budget—just a little creativity, a cordless drill, and a few wooden crates!
Which DIY project should we tackle next? A corner lounge bench or floating kitchen shelves? Let me know in the comments below! 👇
Don’t forget to save this post on Pinterest and share your own DIY creations with me on Instagram!
Click here for more information about container homes.
We would be very happy if you share your new ideas with us.
Don’t forget to check out and share great ideas about DIY Sustainable Living Ideas Thanks!
↓↓ Check Out Other Fascinating Trending Home Stories ↓↓
- DIY Magic: How I Transformed My Space with Wooden Crates & Simple Tools
- Charming Black Gables Aframe House in Walhonding: A Magical 20-Acre Retreat
- Chic 350 ft² Primary Zen House in Miami: New Generation Modern Minimalist Living Space
- 75 Window Tree House Architecture in New York
- 2x40ft Container Studio Home in Halfmoon Bay: Creative 2 Bedroom Container Cabin Idea
↓↓↓ For More Content ↓↓↓
- 2 Bedroom Home Plans
- 2026 House Costs
- 20ft Container Homes
- 300 – 600 Sq Ft House Plans
- 40ft Container Homes
- 600 – 1000 Sq Ft House Plans
- A-Frame Cabins
- ADU Cost & Permits
- ADU FAQ
- ADU House Plans
- ADUs & Backyard Homes
- BLOG
- Cabins & A-Frames
- Container Home Cost
- Container Home FAQ
- Container Homes
- DIY GUIDE & COSTS
- DIY Step-by-Step
- FAQ
- House Plans & Layouts
- Loft & Two-Story Plans
- Log Cabins
- Modern Cottage
- Modern Tiny Houses
- Off-Grid Living
- Open Floor Plans
- RVs & Camper Vans
- Tiny House FAQ
- Tiny House Interior Ideas
- Tiny Houses & THOW
- Tiny Houses on Wheels (THOW)
- Tree Houses
- Two-Story Container Homes
- Under 300 Sq Ft Micro Living